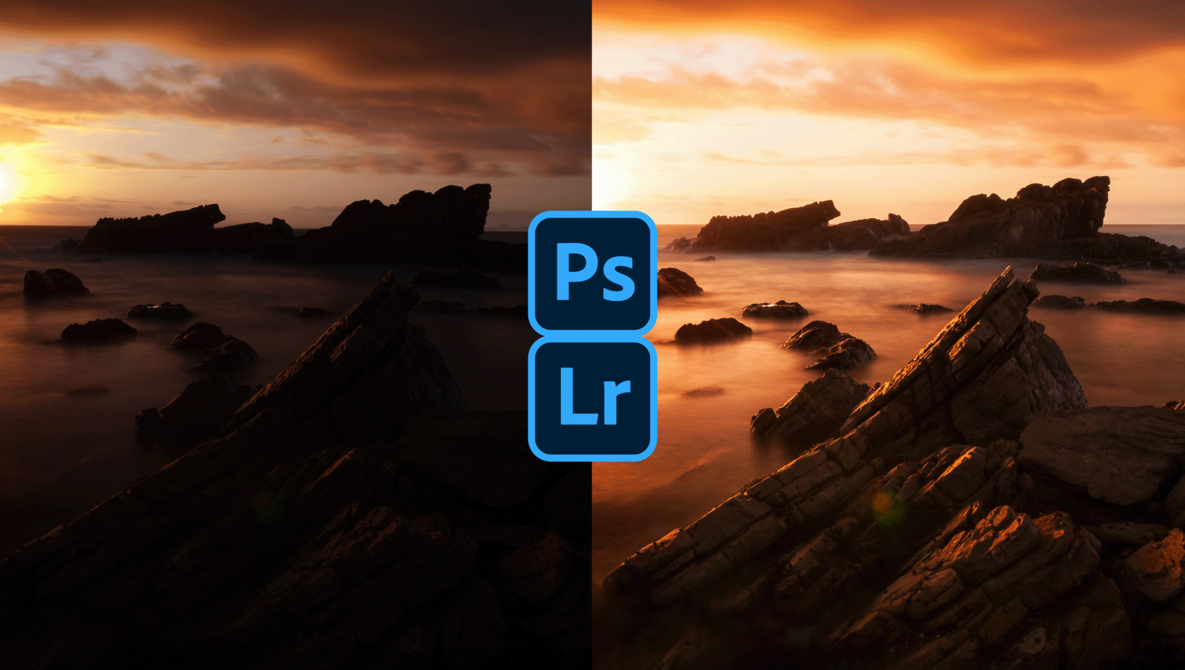
When editing landscape photographs, there are many ways to get from point A to point B. In this tutorial, we'll cover using Adobe Camera Raw to get the most out of your raw files. So, you've taken a few photos of a beautiful landscape and are ready to process them in Adobe Camera Raw or Lightroom.
Luckily, Adobe Camera Raw and Lightroom are almost the same when processing an image, so the video above should be easy to follow if you want to process your photos using the workflow tips I provide. Once you've downloaded your raw files, open them up in Adobe Camera Raw. When the image is open, you should see the photo in front of you with a bunch of sliders and options to your right.

Before getting into that, we need to ensure ACR (Adobe Camera Raw) uses the correct bit depth for your image. At the bottom of the ACR window, click on Camera Preferences and set your document bit depth to 16-bit. Ensure your color space corresponds with the same color space you've used on your camera, so set it to either sRGB or Adobe RGB (1998).
Once you've done that, click OK to apply the changes. This minor tweak will ensure you use the maximum color depth for your raw images, as most cameras take raw photos in 12- to 14-bit depth. Ensuring you're using 16-bit will provide more than enough bit depth for your pictures to tweak them as needed.
Now that we're back in the main ACR window, we must set our color profile. For landscapes, I like using Adobe Landscape, which slightly increases the contrast.


