The strings you’ll typically find on a are made of nylon, which means they’re great for keeping their sound fresh over time, however, they’re also prone to breaking easily. If you have one or more broken strings waiting to be replaced and bring your uke back to its former glory, never fear as we will show you how to restring a ukulele – whether that’s a single string or full set – and breathe some new life into your uke. In my experience, without instruction or prior knowledge, the uke strings can be tough to tie on and, if they’re tied incorrectly, they will slip, drop tuning or perhaps even come right off! Follow along as I take you through the full process of restringing your ukulele.
I’ve also written step-by-step guides showing you , , and . Let’s retire those old strings! Pick and loosen the knot where they’re tied around the bridge and loosen them at the machine head end until you’re able to remove them completely from the uke. Give you ukulele a quick dust and general clean, paying close attention to the fingerboard and machine heads.

Now it’s time to get your new strings ready. Note that in a set of four ukulele strings there are different thicknesses, that will be tuned G (thin), C (thickest), E (medium), A (thin). The thickness of the strings correlates to the lower notes the uke will be tuned to.
Here, we’re showing you the low C string as it’s thicker - it’s easier to see! Post the string through the bridge as shown. You can see the tail of the other thinner string here, we’ll be trapping it under the winding of this string deliberately. Pull up the string as shown with plenty of tail, wrap it underneath and around itself.
Feed the string twice through its own loop, this creates a nice knot to tie the string on. When you pull the knot tight, try to aim the tail off to the side as shown. Also you want the last twist of the knot to be ‘round the corner’ of the bridge.
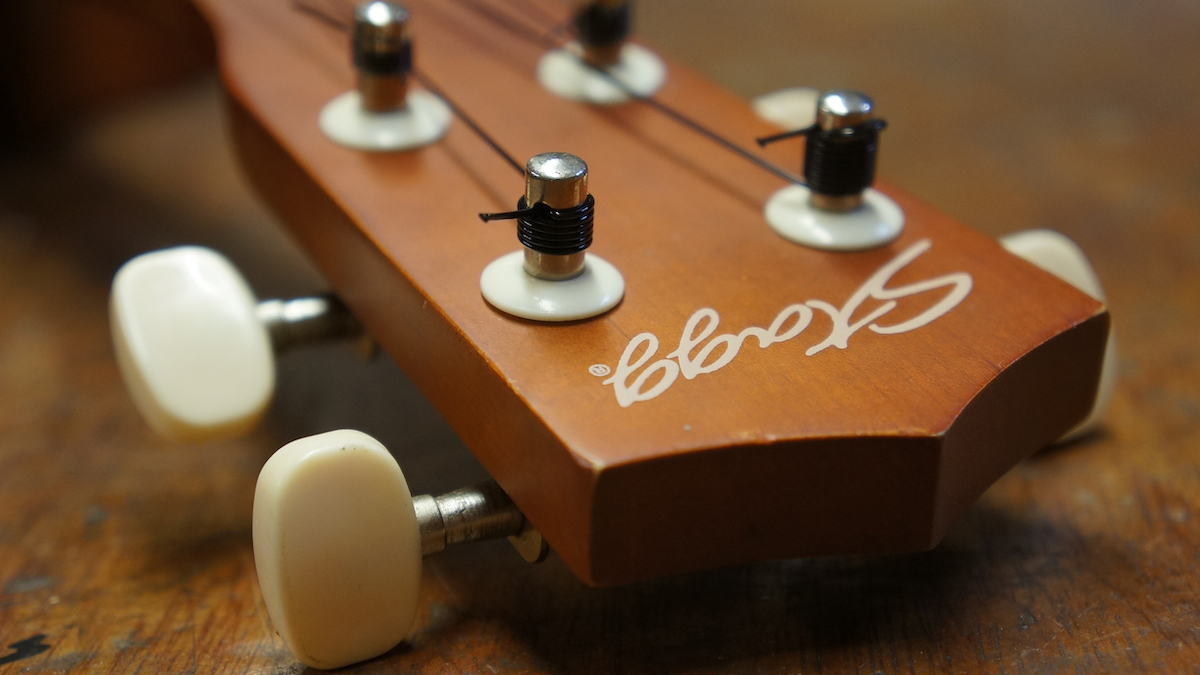
This really helps it to stay put. Give it a good tug towards the neck to secure it. Feed your string through the corresponding tuner’s hole at the head end of the ukulele.
Reserve a healthy amount of slack in the string so that the tuner gets plenty wound round it. This helps the string to anchor nicely to the tuner post. Let’s give the string a helping hand by inserting it again through the small hole - that’s double the chance of staying put! With our knot at the bridge steady and the string looped twice through the tuner, it’s time to wind! Try to hold some pressure on the string while you wind the tuner – this helps to keep it neat.
Wrap underneath for bonus points! Tune up the string then give it a yank to stretch it in. The stretching of the strings really helps tighten the knots and loops where you’ve tied the string on. After tuning and tugging the string, snip off the excess.
Repeat the process for each string and you will end up with this lovely arrangement going on at the bridge – each string’s tail is trapped by the next one. And that’s it! Snip off the spare part of the string at the neck end and you’re done! Note that new nylon strings will take a little while to settle in, so be prepared to retune a fair amount at first..